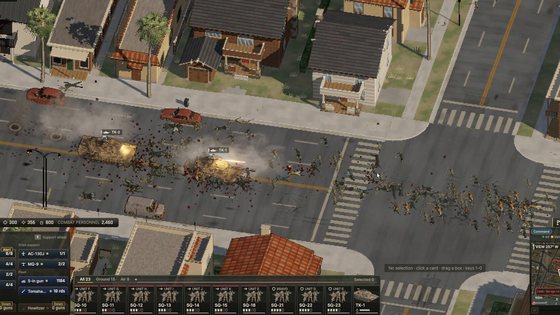
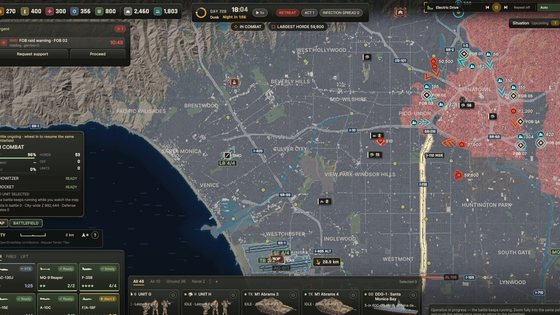
Ebbtide units and vehicles
You command National Guard, LAPD and LA County Sheriff units plus Marines from Camp Pendleton, with M1 tanks, Bradleys, LAVs, Humvees and Apache, Viper and Black Hawk helicopters. TAB lets you take direct control of any of them.
Ebbtide gives you a mixed force and expects you to know what each part is for. You command National Guard, LAPD and Los Angeles County Sheriff's units, you can call in Marines from Camp Pendleton, and you drive M1 tanks, Bradleys, LAVs and Humvees alongside Apache, Viper and Black Hawk helicopters. Any one of them can be taken over directly with TAB.
The four forces on the map
| Force | What the store page says you can do with them | What they are actually good for |
|---|---|---|
| National Guard | Order units to hold, delay or withdraw | Line infantry and the backbone of a district garrison |
| LAPD | Same hold / delay / withdraw orders | Interior districts, road control, holding what is already yours |
| LA County Sheriff | Same orders | The outer districts and the long approach roads |
| US Marines (Camp Pendleton) | Called in as a reinforcement | The unit you spend when a district is worth saving |
The distinction that matters in play is not firepower, it is where each force starts and how fast it can be somewhere else. National Guard and the two police forces give you troops already on the map; the Marines are the call-in, which makes them the answer to a Crisis rather than a garrison.
That is also the honest reading of "hold, delay or withdraw": the three orders exist because the game knows you cannot hold everything. Hold is a commitment. Delay is a trade of ground for time. Withdraw is a decision to keep the unit and lose the district.
Armour: four vehicles, four jobs
| Vehicle | Type | Where it earns its fuel |
|---|---|---|
| M1 Abrams | Main battle tank | Breaking a horde that has already massed, and the only thing that reliably survives being surrounded |
| Bradley | Infantry fighting vehicle | Moving infantry through open streets without losing them on the way |
| LAV | Wheeled light armour | Roads and reinforcement runs where tracks are wasted |
| Humvee | Light utility vehicle | Speed, convoy escort, and getting a small team somewhere before the horde does |
Armour solves the open-ground problem and creates the supply problem. Vehicles burn ammunition and fuel and can only rearm and refuel at bases you hold, so a tank push that outruns its base becomes a very expensive roadblock.
Rotor: Apache, Viper, Black Hawk
Attack helicopters (Apache and Viper) are the fastest way to put fire on a specific street, and the least forgiving if you leave them hovering. The horde climbs, and it clings to helicopters that hover close to the ground — an attack run that ends low and slow is how helicopters are lost in this game.
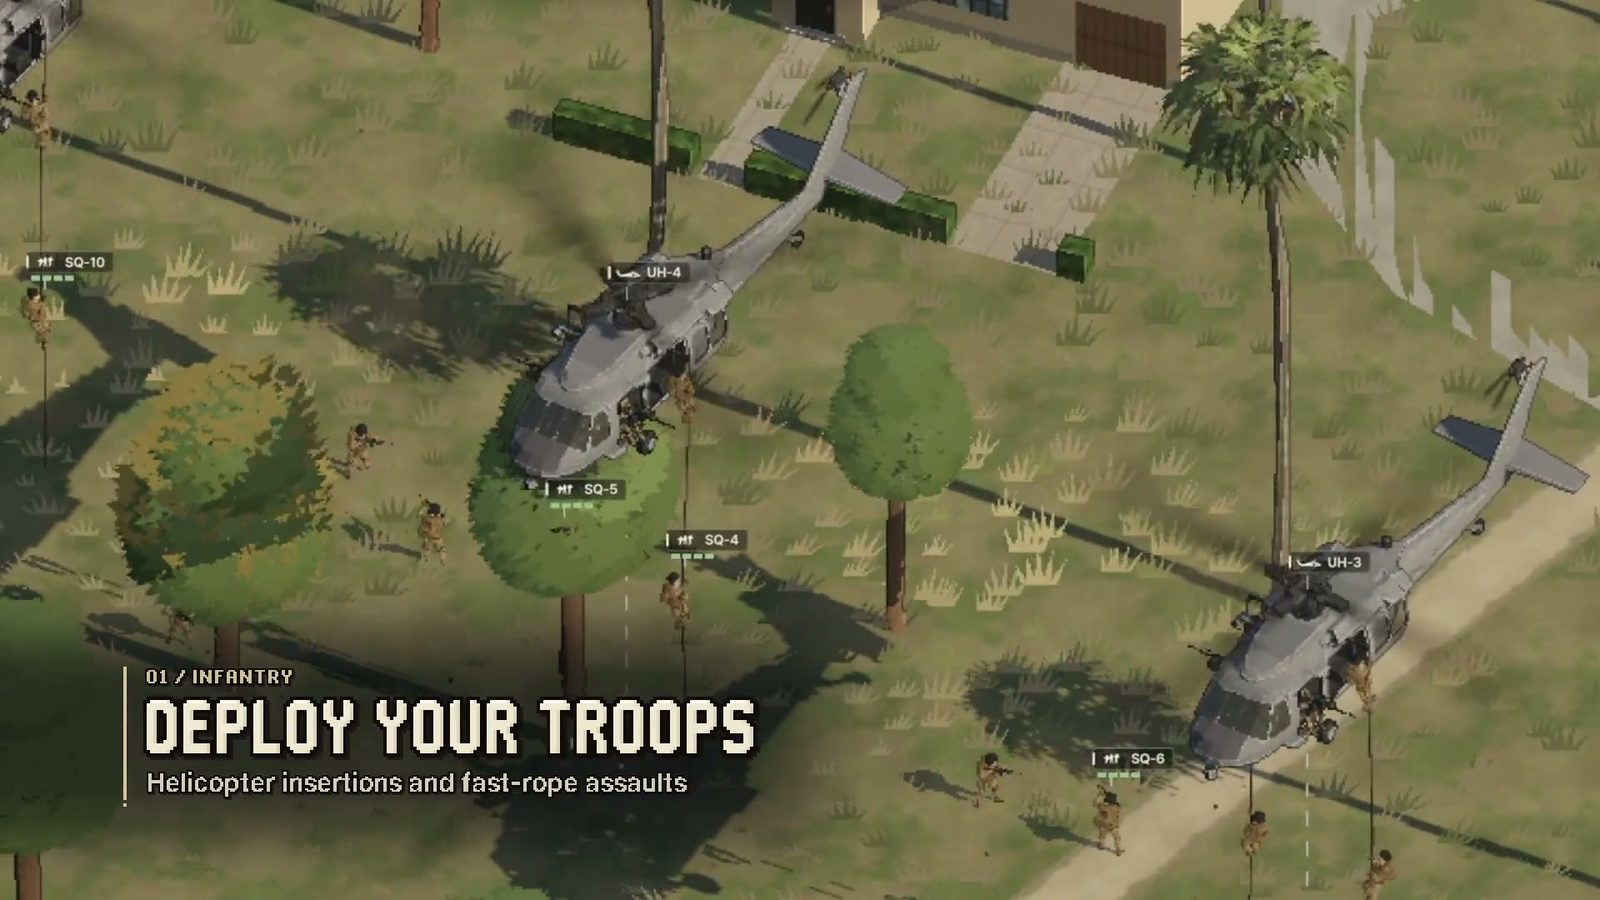
Black Hawks are the deployment tool:
- Fast-rope troops into a street the roads no longer reach.
- Land on a rooftop and deploy a squad above the fight, which is often the only way into a district whose streets are already Lost.
Both of those moves put a helicopter in the exact place the horde can reach it. Plan the exit before the insertion, not after.
Stances and formations are not decoration
You can set squad formations and combat stances. The practical version of that advice:
- Formation is about what the squad is standing behind. Spread out in the open, tight in cover.
- Stance is about what the squad does when it sees something. A squad told to hold fire does not start a fight you did not choose.
- Change both before contact, not during. In a street fight you will not have the spare attention.
TAB: direct control, and when to use it
Press TAB and you are inside a single soldier, tank or helicopter. The AI keeps aiming at what it decided was important; you aim at what is actually killing you.
Take control when:
- A unit is about to die. You usually get a second or two of warning, and that is enough to break contact.
- One precise thing has to happen. A tank round into a specific doorway, a helicopter run on a specific rooftop.
- You are about to lose something irreplaceable. A veteran squad, a Marine detachment, the last working tank.
Do not take control when the map needs you. Direct control costs you the overhead view, and the map is where the other fourteen districts are quietly becoming problems.
What kills units that you did not plan for
Three mechanics punish the standard RTS habit of parking a unit and forgetting it:
- Stacking. Zombies pile up to climb walls and rooftops. A perimeter that worked last hour can be a staircase now.
- Air denial. Low-hovering helicopters get grabbed. Altitude is armour.
- Conversion. Soldiers killed by the horde rise again as zombies. Every lost infantryman is also a new enemy, which means a bad fight compounds.
The counter to all three is the same: do not leave a unit in contact longer than the mission needs. Rotate out, rearm, come back.
A starter task organisation
If you want a default that survives the first few hours:
- One armour group (a tank plus a Bradley) as the thing that goes to the Crisis.
- One mobile group (Humvees and a LAV) for convoy escort and reinforcement runs — never for holding ground.
- Garrison infantry in every district you intend to keep, minimum viable, on hold.
- One helicopter reserved for insertion and casualty extraction, not for strafing.
- Marines unspent until a district is genuinely worth the call.
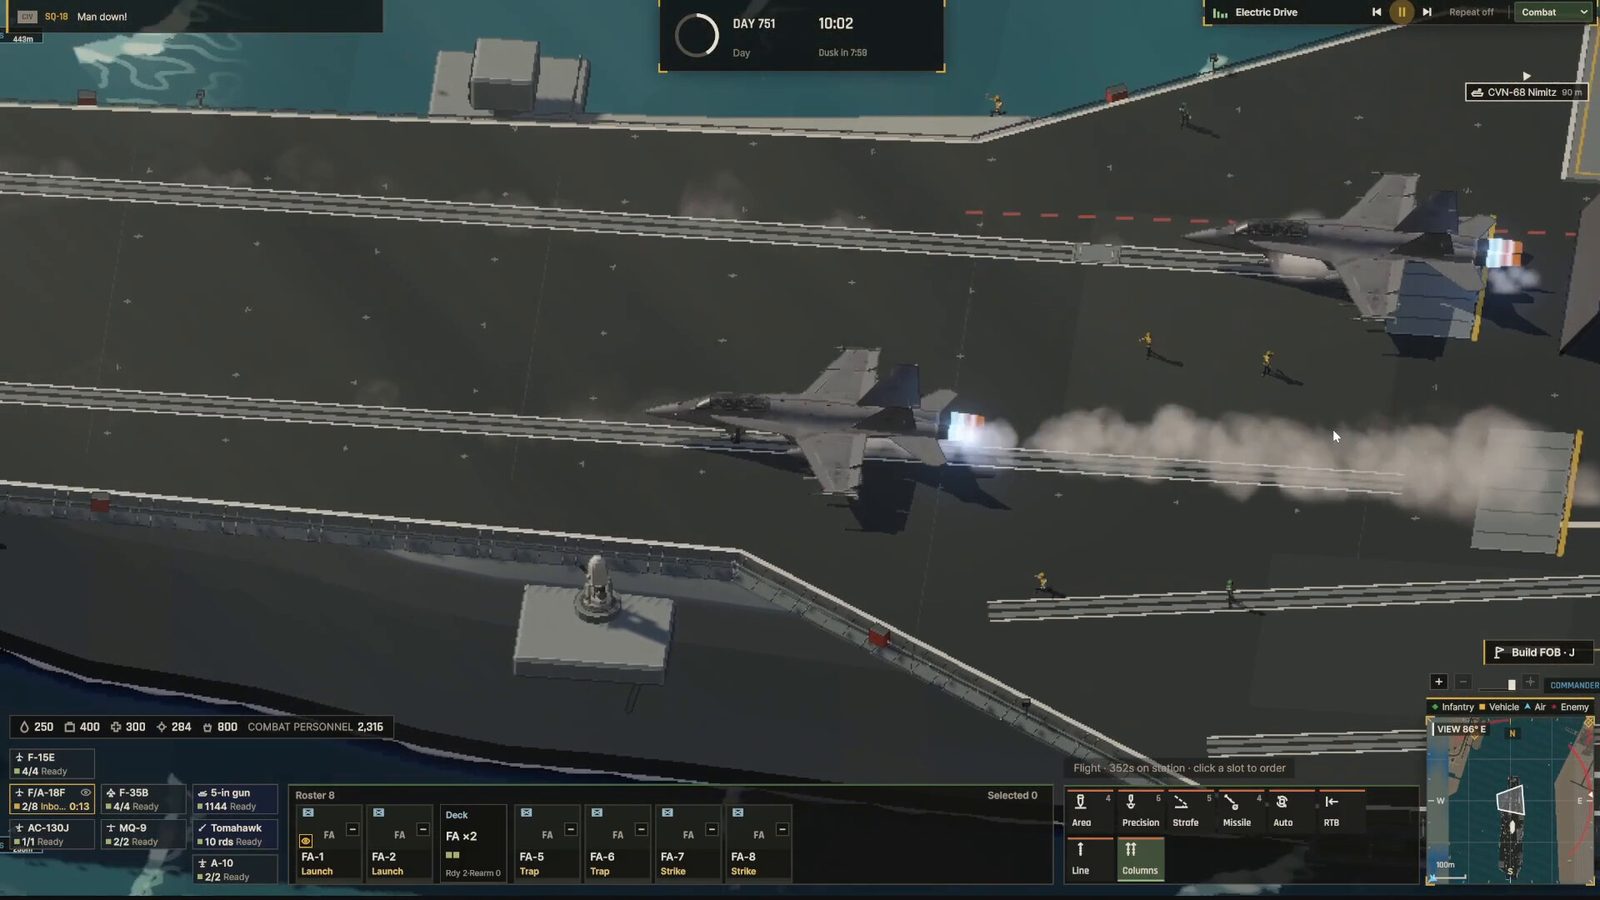
The carrier group offshore is where the heaviest tools come from — see fire support for what the ships and aircraft can do, and base building and supply for how to keep all of the above fuelled.