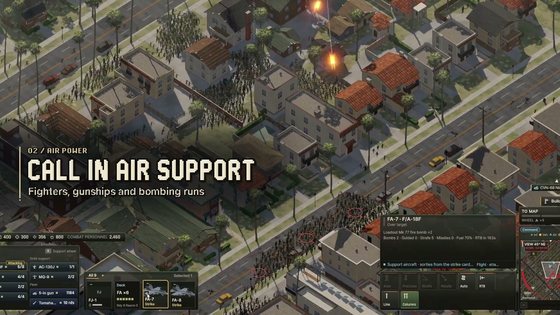
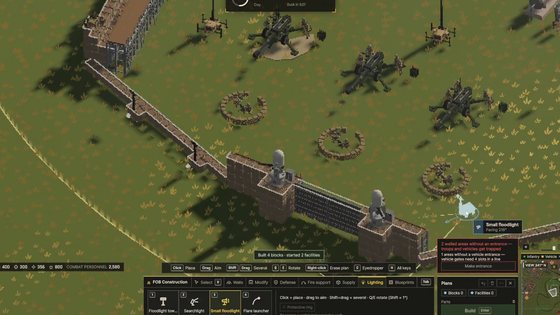
Ebbtide Los Angeles map and districts
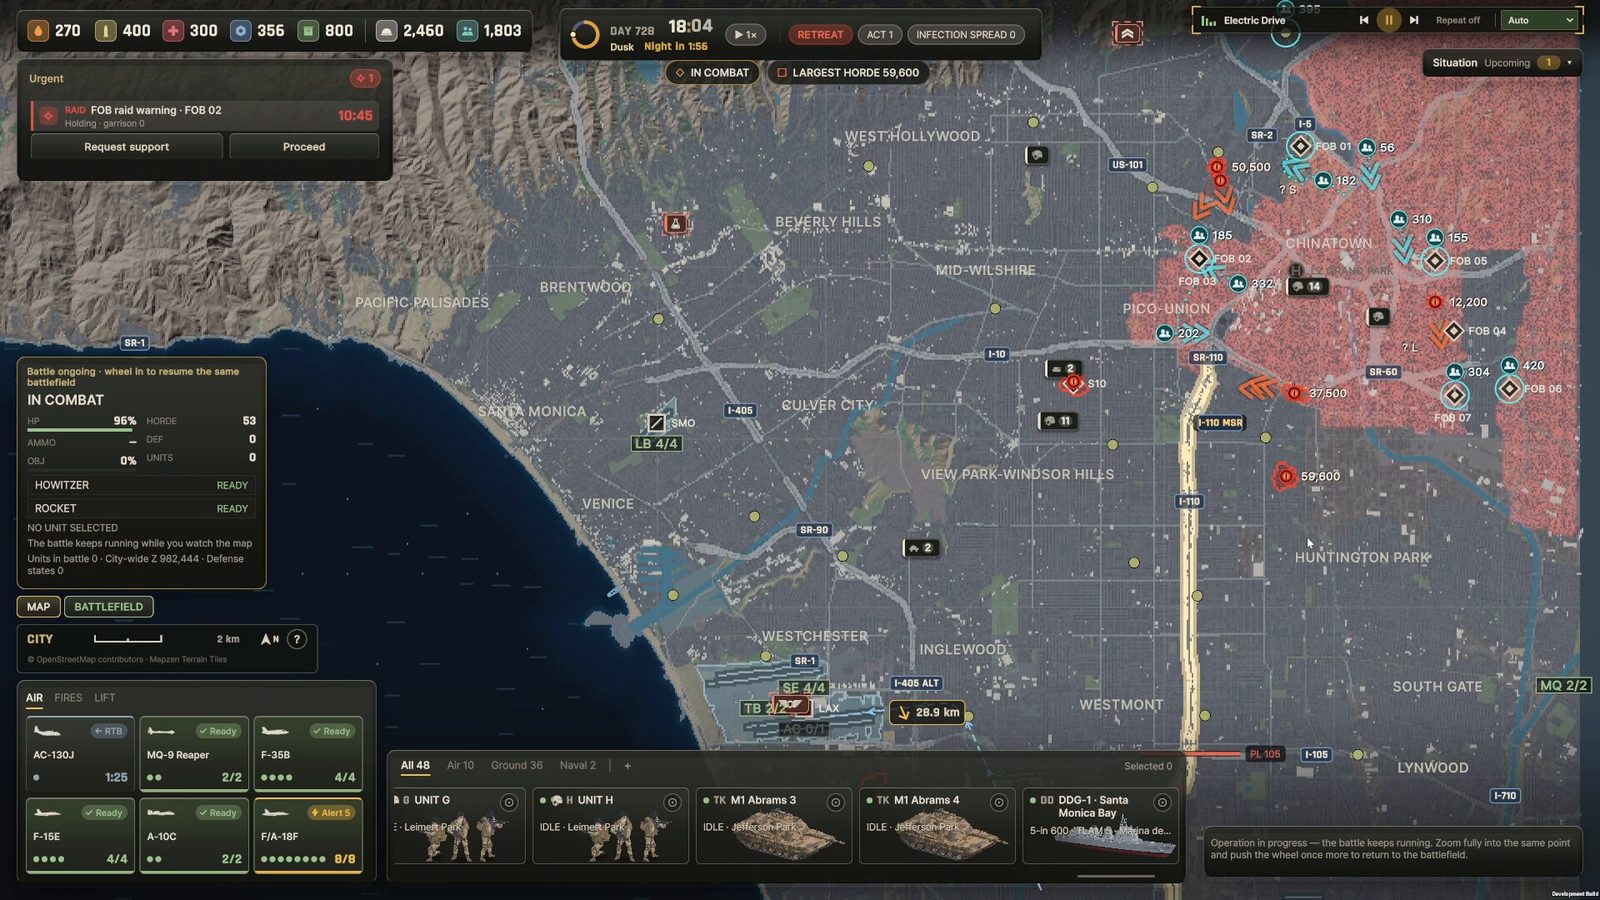
Los Angeles is split into 15 districts that each sit in one of three states, Hold, Crisis or Lost. You cannot hold all of them, so the map is really a queue of decisions about which units and civilians you pull out first.
Los Angeles is the whole first act of Ebbtide, and the operations map splits it into 15 districts that each sit in one of three states: Hold, Crisis or Lost. The campaign runs from the Hollywood Hills down to the Port of LA, and the port is where the act ends — whatever you get there travels with you into the world campaign.
The shape of the map
Two anchors define the geography:
- The hills in the north. High ground, narrow roads, and the districts that sit between you and the basin.
- The Port of LA in the south. Docks, cranes, open water and the evacuation itself. Everything you want to keep has to physically reach it.
Between those two points is a dense urban basin where the roads are the strategy. A district is not a box you defend — it is a set of routes. Cut the route and the district starves. That is precisely what the Nexus is described as doing: cutting roads, ambushing convoys, besieging bases and hunting stranded units.
The official operations view also shows a naval contact in Santa Monica Bay and a carrier group offshore. Ships are part of the map picture, not just a fire-support menu — destroyer guns and Tomahawks come from hulls that have to be in range.
What each district state costs you
| State | What you still get from the district | What it costs to keep | When to let it go |
|---|---|---|---|
| Hold | A base site, a supply stop, a staging area, a route for convoys and refugees | A garrison that is doing no fighting, plus the supply to keep it fed | When the garrison is worth more somewhere else |
| Crisis | Contested ground: partial routes, active fights, civilians still inside | Reinforcement you probably do not have, and time the rest of the map is not getting | When you cannot both hold it and keep the port route open |
| Lost | Nothing. The border becomes a wall | — | Already gone; do not spend units trying to reverse it |
The mistake almost everyone makes in the first hour is treating Crisis as a to-do list. It is not: Crisis is a queue, and every district in it is asking for the same finite column of troops. Two Crisis districts usually means you have already lost one of them, and the real decision is which.
The seven names you can read off the official map
Seven district labels are legible on the operations view ProjectAlive has published. Knowing the real city helps you reason about the ground the game is using:
| District label | Where it sits in the real basin | Why the position matters |
|---|---|---|
| West Hollywood | North-central, between the hills and the city core | A hinge between the hill districts and everything south of them |
| Brentwood | West side, north of Santa Monica | Feeds the coastal corridor; a long way from the port |
| Culver City | West-central, inland of Venice | A crossroads between the west side and the basin's interior |
| Venice | Coastal, on Santa Monica Bay | Beachfront, canal streets, and the naval picture offshore |
| Westchester | South-west, next to LAX and above the port | The last urban belt before the docks |
| Inglewood | South-central, inland of Westchester | A wide, flat grid — fast movement, poor cover |
| Lynwood | South-east of the port corridor | The far side of the basin from the hills |
That is seven of fifteen. The rest of the map is there in the game; this site will not invent names for it.
Fog of war: the districts you cannot see
Only hordes inside your forces' line of sight appear on the map. A district with no friendly unit watching it can fill up silently, and the first report you get may be a convoy not arriving.
Practical consequences:
- Quiet garrisons are sensors. A squad holding a calm district is still earning its supply by watching it.
- Every withdrawal creates a blind spot. Pulling the garrison out of a stable district to plug a Crisis is how a second Crisis starts.
- Aircraft and helicopters are eyes. Anything that can hover over ground your infantry cannot reach extends what you can see, at the cost of exposing the airframe to zombies that climb.
Evacuation priority: the order of pull-out
The design states the constraint plainly: you cannot save everyone, so decide who you pull out first. That is not flavour text, it is the scoring function behind the whole act. A workable order for a first campaign:
- Specialists and pilots first. The world campaign explicitly involves rescuing pilots and specialists you cannot train. Anything you cannot replace later is worth more than anything you can.
- Units you can still use. A half-strength squad that reaches the port is a squad in the next act. A full-strength squad encircled in a Lost district is nothing.
- Civilians on a route you already hold. Evacuation is cheap when a corridor exists and ruinous when it has to be forced.
- Ground, last. A district is only worth holding while it protects a route or a base site.
Why the port changes how you play the basin
Because the port is an exit, not a prize. Every district you spend force holding either protects a road to the water or does not. Districts that protect the southern corridor (Westchester and the belt around it) are worth more than districts that are merely large.
That is also why the southern half of the map tends to eat a campaign: it is where the roads converge, where the airport and the docks sit, and where the evacuation queue is. Lose the corridor and you can still win battles — you just cannot get anything out.
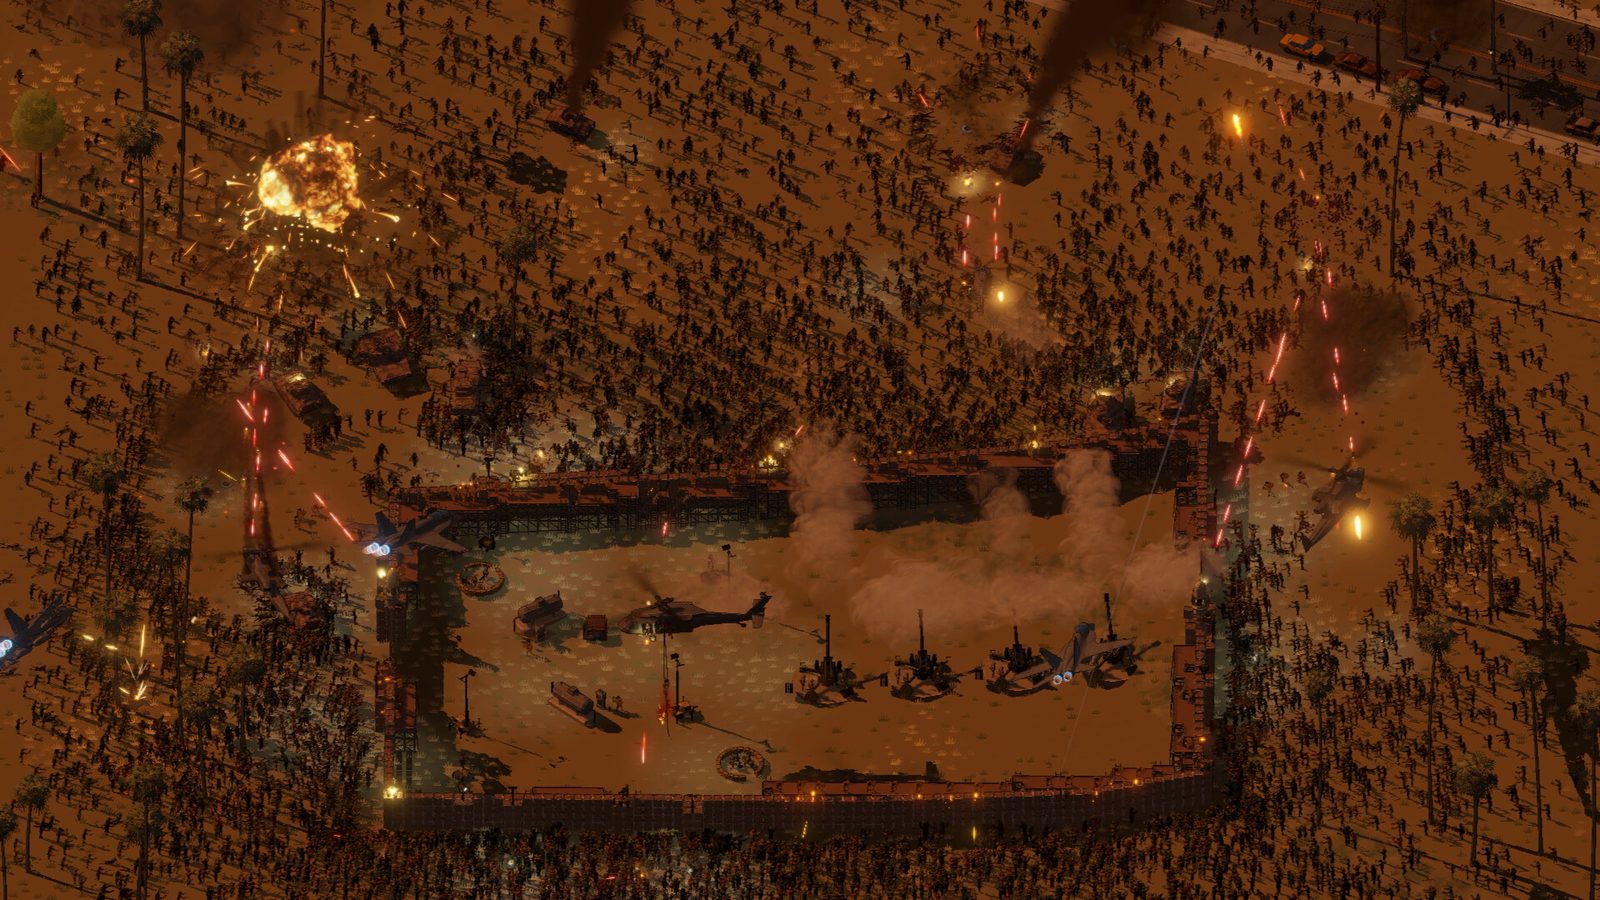
For what to hold a district with, see units and vehicles; for the base that anchors a district, see FOB building and supply; for what to spend when a district is already lost, see fire support.